1.0 Create or Edit Item Groups
- Open Item Group List
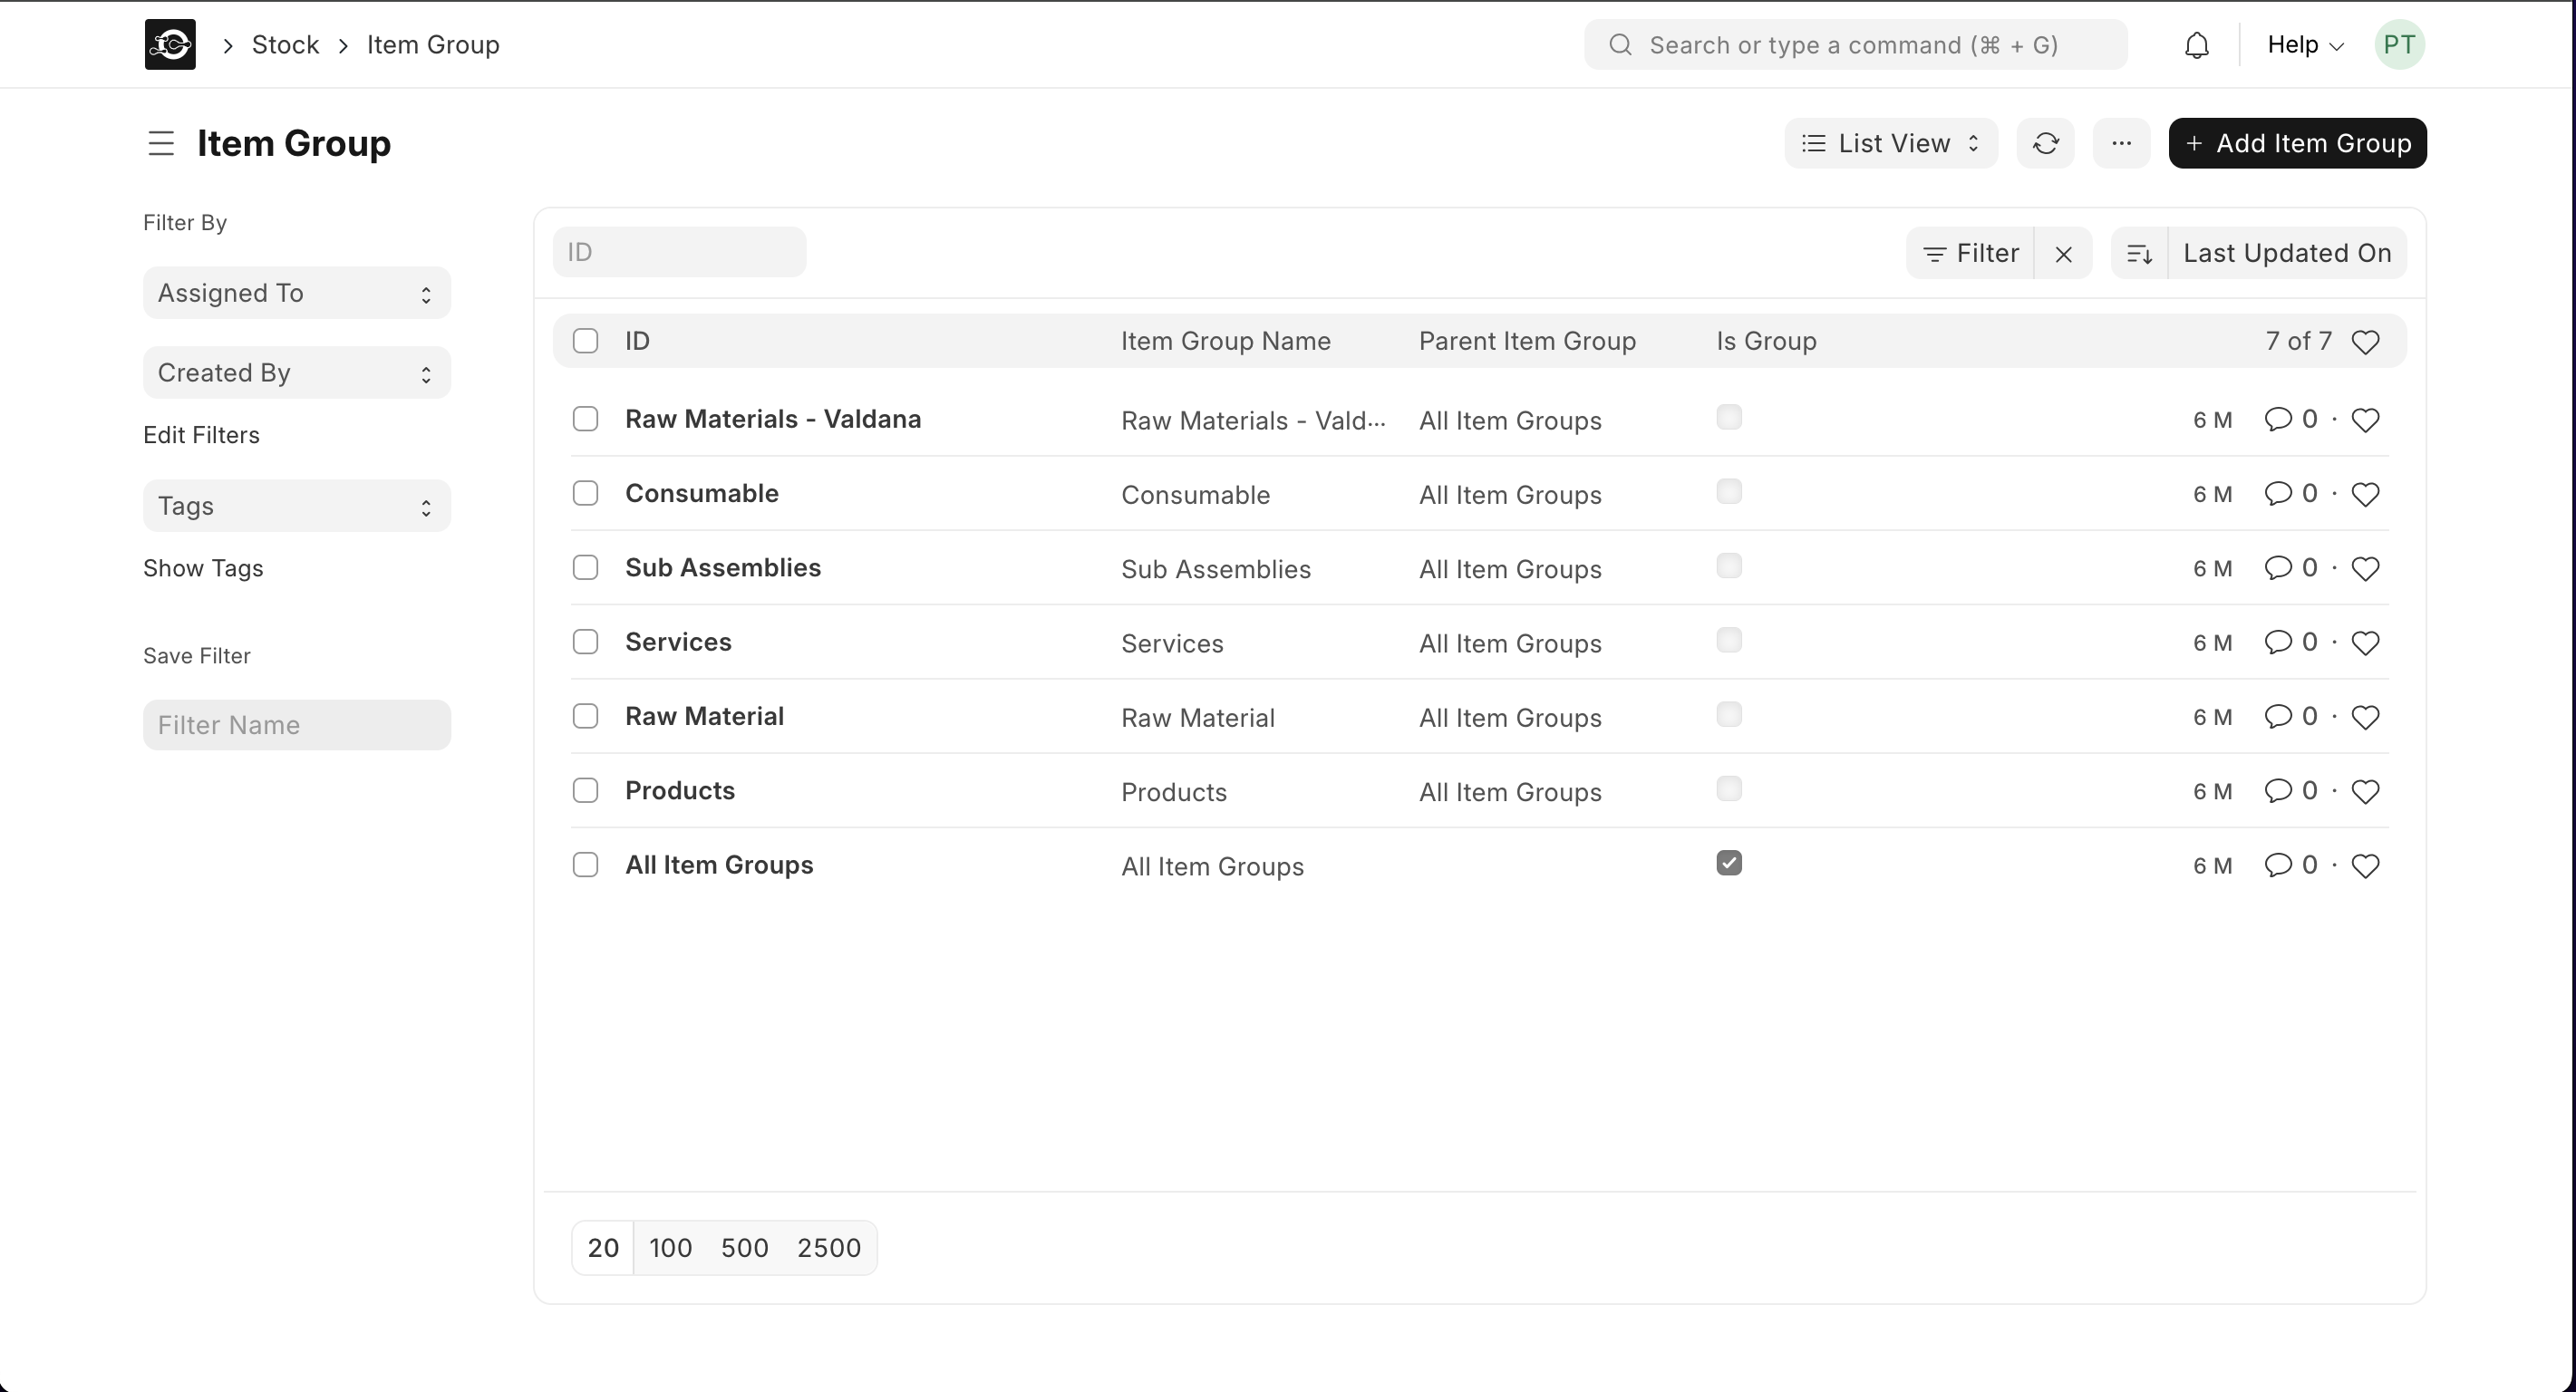
- Navigate to Stock▶️ Item Group.
- Add a New Group
- Click New in the top-right.
- Enter Group Name (e.g., “Grains & Flours”).
- Select Parent Group (leave blank for top-level or choose “Raw Materials”).
- Check Is Group if you plan to add sub-categories.
- Click Save.
- Edit an Existing Group
- In the Item Group List, click a group name.
- Update Group Name, Parent Group, or Is Group.
- Click Save.
2.0 Assign Raw Materials to Groups
- Open the Raw Material
- Go to Stock ▶️ Item List, filter Item Group = Raw Materials, and click the material name.
- Change Item Group
- On the Details tab, set Item Group to the desired category (e.g., “Grains & Flours → Wheat Products”).
- Click Save.
- Bulk Update via Data Import (optional)
- Download the Item import template under Data Import.
- Fill in Item Code and new Item Group columns.
- Re-import to update multiple raw materials at once.
3.0 Verify Your Categorization
- Item Group List Report
- View Stock ▶️ Reports ▶️ Item Group Summary to see counts per category.
- Filtered Item List
- In Item List, apply the Item Group filter to confirm correct assignments.